Let me tell you about my home.
It was built in 1969 and still has the original hardwood floors throughout. When I purchased it, there had been some renovations completed to restore the old wood from what once was carpet. Other rooms, like the bathroom and kitchen, have a beautiful laminate laid over – well, to be honest, I have no idea. However, because it was laid over something else, these two rooms are slightly higher than the rest of the home and need transition pieces to prevent stubbed toes and tripping.
The point is that if you are working on your home and want to add flooring, you’ll want to be sure that the floors are all even to match.
Of course, if you’re doing as my previous homeowner did, and attempting to keep the original wood flooring, it can be difficult. But, let’s say you have tile in your kitchen and want to extend that across some old laminate flooring in the dining room or sunroom. You can either use transition pieces to smooth the obvious height difference, or you can level the subfloor to the same height. This is best if you want to continue the same flooring throughout for one cohesive look.
Below, we’ll look at what you need to do to determine the height difference and level your floors. When this happens, you’ll want to raise your subfloor, so let’s take a look at the steps you’ll take to do this. We’ll also talk about why some people prefer to lay new flooring on top of old flooring.
Contents
Removing Flooring
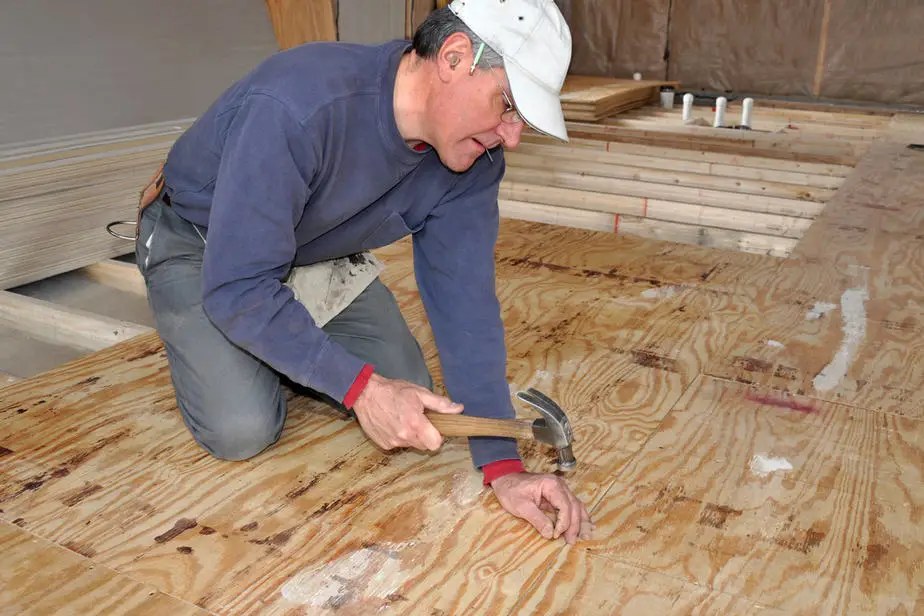
The first step for this is to demolish the old flooring. There are many reasons DIYers choose to not remove the old flooring.
A big one is the possible presence of asbestos. This cancer-causing element easily gets into the air when it is disturbed. So easily that even licensed contractors call in specialty teams to handle the product. Special hazmat suits are worn, and the rooms and vents are all taped off while the tile is removed. This is most commonly a concern in homes built before the 1980s, so many homeowners want to avoid the cost and danger by keeping the old flooring.
While there are many other reasons – cost, know-how, difficulty, time restraints – there needs to be a plan B for when you don’t want to (or can’t) remove that flooring. The best option for this is to level the lower floor to match the higher floor.
Measuring
You’ll likely be able to eyeball the difference between the two floors. However, if you’re unsure whether it is even necessary, lay a level down across the two floors that need leveling. This will tell you if there is even a slight height difference, which can – and will – cause cracking and issues if you do not address it.
When getting ready to measure for the subfloor, you’ll want to be sure the original subfloor is clean. This means you need to remove any grout, glue, or tile mud that may have been left behind by your previous flooring. If you don’t remove all of this, the measurements will be inaccurate. This also needs to be done before laying any new product.
To measure this difference, you can use the level and a measuring tape. Once you have laid the level on the highest part of the floor, lift the lower end until the bubble reaches the middle of the level. Once you have leveled the level, use a tape measure to measure the difference from the base of the level to the subfloor. I recommend doing this more than once since human error is a huge possibility. Haven’t you heard the construction adage, “measure twice, cut once?”
Leveling Strips
There are many reasons why homes have unlevel flooring. One possibility is that the flooring was never laid flush. You may also see this in older homes where the foundation has settled with time.
If this is the case, you’ll want to create leveling strips out of 2” x 10” pieces. These strips will be triangular and will look like miniature ramps that will be nearly flat at the end to make a floor completely flush. This allows you to add subflooring to the leveling strips, making the floor completely flush. Again, this requires a lot of measuring and cutting, so be patient when doing this.
Once you have the leveling strips cut, you’ll want to place them every 12-16 inches. This helps the subflooring added over it to be stable and have no sagging. You’ll also want to screw these strips into the current subflooring to make sure there is no movement when adding the new subfloor.
Plywood
Are you ready to add in the new subfloor? Well, it’s time to shop for the plywood at least. Ideally, this should have been done already because you want the plywood to sit in the room that it will be added to for about three days. This will give it time to acclimate to the environment and humidity. By the way, you should also do this with the flooring you intend to put throughout.
Okay, you’ve measured out your height difference. In my home, the difference between the kitchen and living room is only 1/4 inch; however, my bathroom difference is 3/4 inch. This is a half-inch difference, so this can cause issues if I wanted all the flooring to be the same. If this is the case for you, you’ll want to go with the highest flooring point and measure based on that.
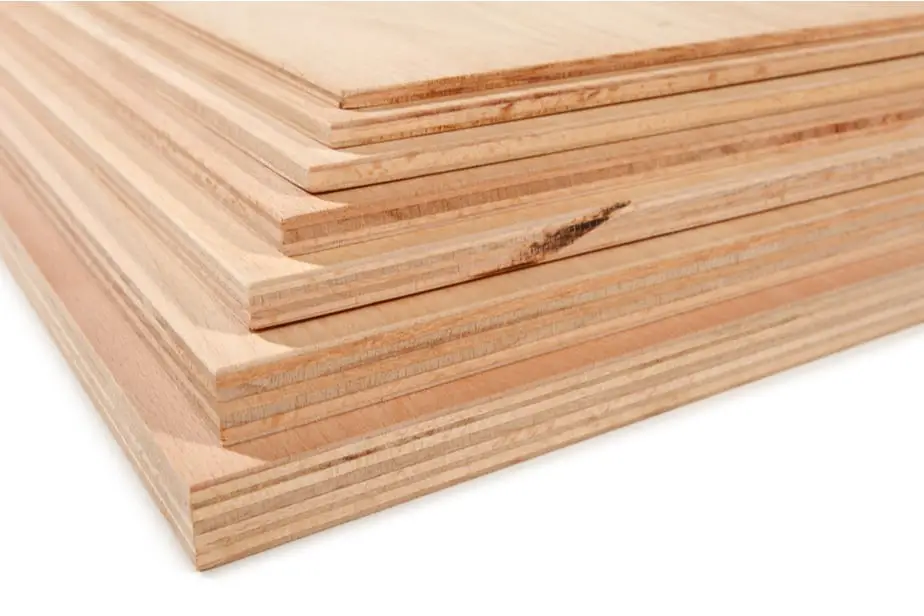
Luckily, there are many different thicknesses of plywood available at most stores. The most common thickness is 1/2 inch, or 13 mm. Yes, for those who are more inclined to work with the metric system and measure to the millimeter, all plywood is translated into both inches and millimeters.
In my case, I’d need to raise my floor by 3/4 inch or 19 mm. Remember, my kitchen is different than my bathroom, so I’d want a thickness of ½ inch for that room. I wouldn’t want to use the 3/4 inch throughout or the kitchen would still be uneven!
Keep in mind, that if you were to measure this piece of wood, it would not likely match the label on the lumber. This is because the wood shrinks a bit when it dries. Typically, this shrinkage is minute enough to not make a difference when raising your subfloor.
Laying Plywood
There are many opinions on the best way to lay the plywood on an existing floor or subfloor. One point of discussion that does not seem up for debate is that you’ll want the smooth side of the plywood face up when installed.
Where people differ in opinion is in what you use to secure the two floors together and which direction the boards should lay. Since plywood is sheets of thin wood that are laid on top of each other in alternate directions, it doesn’t seem that this would be a huge deal. In fact, most DIYers don’t even cover this topic, so I’ll simply say this: it’s your choice. Whether it causes an issue, in the long run, will more likely depend on what you use to secure the two subfloors together.
You’ll want to use wood glue or subfloor adhesive between the two subfloors to help them stick together and minimize possible movement. The adhesive also reduces squeaking in the final product. When adding the glue or adhesive use a crosshatching method when putting it down. This will create a stronger bond than if you only lay the glue in lines or dots.
You’ll also want to use screws or nails (another huge debate). I suggest the use of small 1 ¼-inch screws or shank nails. Shank nails are the ones that have little ridges along the body of the nail that lock into the fibers of the wood. Screws, of course, are one of the strongest ways to hold the subfloors together but require a bit more effort.
The final debate you’ll often come across in DIY chat rooms is where to put the screws/nails. How far apart should you do this? Should you put them into joints and edges?
My advice is to go simple. Since the previously installed flooring will have nails in it already, just be sure that you measure the difference to make sure that you don’t end up hitting another screw. Using a drill or hammer/hammer gun, drive those screws/nails into the plywood about every six inches. This guarantees minimal slippage and movement between the subfloors.
Now, if you have to use leveling strips, you won’t be able to lay the wood glue between the subflooring. Instead, take the time to add a bit of glue to each strip before installing the new plywood. Trust me, this can make a huge difference in the long run, so why not take the time to add this additional step?
Final Check
Now that the new subfloor has been laid and everything appears even, give the floor 24 hours to settle. This allows any additional environmental acclimation, shifting, glue drying, and settling to happen. Once the 24 hours is up, get that level out to check if you’ve done everything correctly. The bubble in the level should be as centered as you can get it. Good job! Now, you’re ready to lay the new flooring and give your house a cohesive look.


