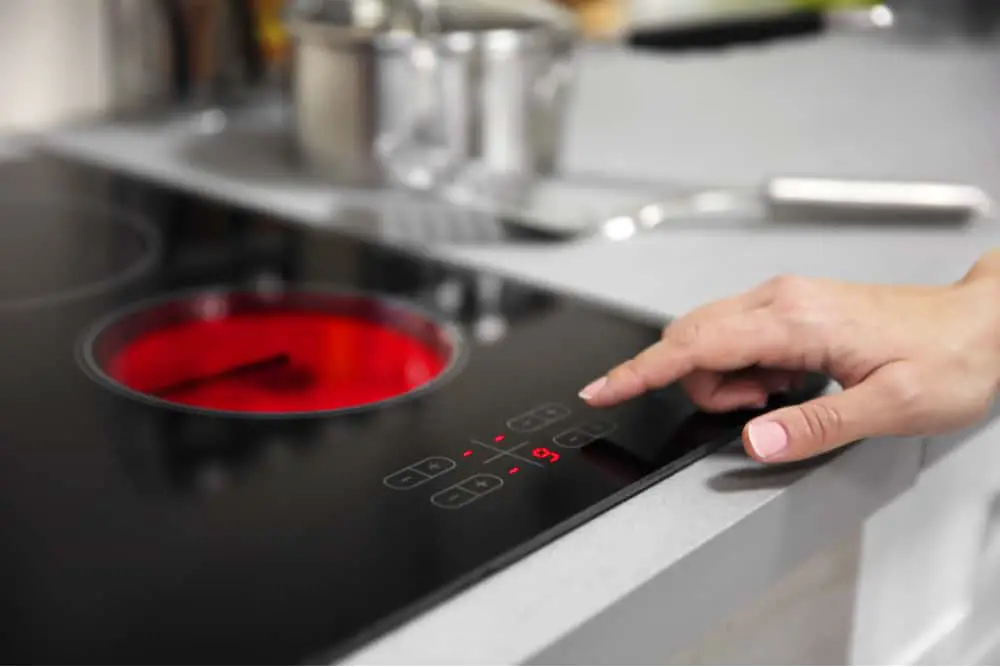
Suppose you are preparing to cook dinner for the evening, and you turn on your favorite front burner on your glass top stove. You start boiling water for about 15 minutes. After stepping away for a moment and coming back, you realize that nothing has happened. The right burner is on, but your pot of water is not boiling. You even put your hand over the heating element, and still no action. What do you do?
The next thing to do is check to make sure other burners are working. If they are, you will likely have a faulty front burner that needs to be replaced. You will have to remove it, determine the part you need, order it, and then replace it.
So how do you replace the heating element on a glass top burner? It is a relatively simple process that is quick and easy. Continue reading, and you will have your burner back operating in no time.
Contents
Troubleshooting The Problem With Your Glass Top Stove
There could be several problems with your glass top stove that are keeping it from working. Here, we will address the most common one, which is the heating element has gone bad. The first sign that the element is going bad is that it won’t shut on. Typically, when you turn on your glass stove, the coils will turn red, and you will feel the warmth from the heating element. However, if something is wrong with a particular burner, it won’t work.
Before troubleshooting the suspected broken burner, it is a good idea to check all other burners to make sure it is indeed the specific burner that is the problem. If all burners aren’t working, you may have a bigger problem on your hand. However, let’s assume that all other burners work but one of them. Next, turn the burner in question on high and see if it is heating. If the burner doesn’t heat or at the high setting, it’s barely getting hot, there undoubtedly is a problem.
Once you have realized that there is a problem with your burner, the next thing you will need to do is inspect the heating element closer to dry to determine what the problem is. This does involve putting your DIY skills to use, so you will need to prepare.
First and most importantly, pull your stove away from the wall and unplug the stove to prevent electrical shock. Then you will need to grab a few items to work with. One will be a tool to remove the screws from the stove. So, this can be a screwdriver or a drill with the proper bits. I would also grab a pair of needle-nose pliers, a stick, or some other type of sturdy prop, and a multimeter. It would also be a good idea to grab some things to clean with because there may be dirt or grime that you should wipe off before proceeding with the replacement.
After you have all the tools that you need, start by opening your stove. Looking upwards underneath your stovetop, you should see two screws on either side while the oven is open. These screws will allow you to lift the stovetop from the oven to inspect the faulty burner. Use your screwdriver or drill to loosen the screws. Then, lift the top of the stove, being very careful with it so that you don’t break the glass. Some models will simply lift once the screws are removed. Other models may need you to wiggle them loose or squeeze some levers to open the stovetop. Once you have opened the top, use your prop to keep the stovetop open.
If you have a cooktop on an island, the process for removing it is similar. First, you want to shut off the power for this appliance at the breaker box. The screws to remove these should be located under the counter. Once you have removed the screws, use a putty knife to remove the caulk and lift the cooktop.
Now that you have either to the stove or the countertop cooktop open try to wipe down any dirt that may be present. Then take a photo with your smartphone of how the wiring is configured. This will help you make sure that you put the wires back precisely the way they are supposed to be once you get the new part. Next, since you are still troubleshooting, you will remove the faulty radiant element and inspect it. Immediately you may notice problems with it, such as a broken electrical path or visible burns on the element itself or one of the wires connecting to the element. This is a surefire sign that the burner needs to be replaced.
Checking Continuity
Sometimes there may not be any signs of burns or breaks. Therefore, you will have to use a multimeter to check for continuity. Start by isolating the faulty burner to get an accurate reading. Whether using a digital or analog multimeter, start by setting it to the lowest setting for ohms of resistance. Place the two probes together to calibrate it and adjust the meter to zero. Once the meter is calibrated, take the probes and touch the coil terminals on the burner.
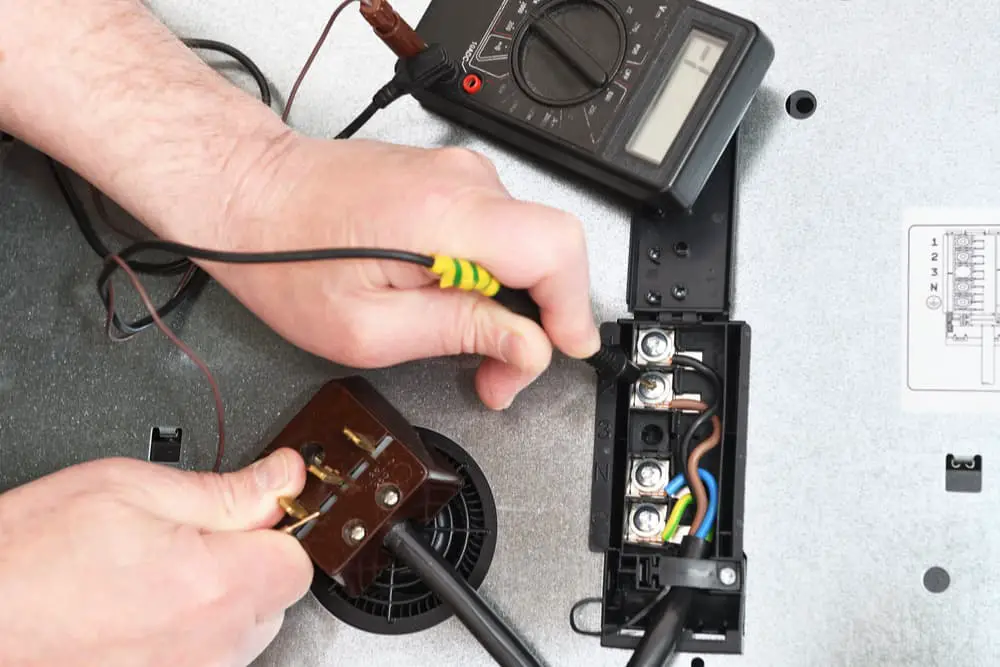
If the ohms of resistance reading is between 0 and 120, then the continuity is ok. This means that the burner is not the problem, and something else may be an issue. If the meter doesn’t move, there is no continuity, and you will need to replace the burner. Assuming that the burner is the problem, let’s look at how to fix it.
Replacing a Faulty Glass Top Burner
With the burner removed, you will need to find out what the model and serial numbers are to replace the part. You should be able to find the part online or at a local hardware store. Once you locate the numbers on the defective part, again, take a photo of the numbers to show to the store clerk or look up the correct part online.
Step 1:
Once you have your new part in hand, you can begin replacing the part. Again, make sure that your stove is unplugged and lift the stovetop head and prop it up. If you need to remove the part again, go ahead and do so now. Remember to take a photo of the wire configuration so that you can put the new part back the way it’s supposed to be.
Step 2:
Start by removing the wires that connect to the element and the limiter. You can use your needle nose pliers to remove the wires. If you happen to notice corrosion on the terminal wires, then it may be a good idea to get replacements for these, too. Otherwise, proceed with replacing the radiant element.
Step 3:
There will likely be a mounting bracket that holds all the burners in place. To remove the burner, you will have to remove the screw that’s mounting the heating element in place. It may be a good idea to remove both screws to remove the entire mounting element. However, if you can handle removing one screw and fixing the faulty burner, you can do that, too.
*Step 4:
Depending on your model, there may be additional mounting springs on the old element itself. Again, this could be an excellent opportunity to pull out your camera phone and take a photo just in case your memory isn’t that good. Unscrew them and put them into your new radiant element.
Step 5:
Fit the element back into place, making sure the retaining screw secures them.
Step 6:
Then finally, reconnect the wires the way that they are supposed to be. Now is an excellent time to look at your photo to make sure that you are putting the wires back accordingly.
Step 7:
Continue by fastening the mounting bracket and then close the top of your stove, making sure it snaps back into place.
Step 8:
Finish by replacing the two screws you removed at the beginning.
*Step 9:
If you have an island cooktop, use some silicone caulk to glue it back into place before replacing the screws.
Step 10:
After completing these tasks, make sure that you plug the stove back in and check the burner to ensure it is working correctly.
*Steps dependent on model/type of stove.


