I come from a long family history of DIYers. I grew up watching my parents do most of their projects around the house themselves and learned to absolutely love taking on home projects. When my husband and I purchased our first home together, there were a lot of areas that needed improvement.
One of those areas that became a project for us right away was the main living area flooring. Honestly, it wasn’t a bad color, but it was extremely dirty, stained, and had a smell to it that I didn’t want to identify. I tried to steam it several times, but it just wasn’t helping. So, after many attempts to salvage it, we decided that we were going to replace the carpet. However, the problem was that we had so many projects started, and we needed to save some money somewhere. So, of course, we decided to do it ourselves.
In the months that followed, we took on a lot of different projects around our new house. We shared lots of stories and answered lots of question from friends and family about our projects we had done at our house. But there was one that kept coming up- You installed your own carpet?? How long did that take? Most people never thought about taking on a DIY project with carpet!
So, I thought it would be a good idea to go over the length of time it takes to install carpet. Going into this project, we had no idea how long it would take us. In the end, it really didn’t end up taking us as long as I thought it would.
We realized a smaller room can be done in a day, especially if you don’t find any issues. However, if you are doing a larger room or find issues along the way, it could end up taking you several days.
Preparing to Install Carpet
It is good to note that the installing of the carpet isn’t the part that takes the longest. In fact, preparing the room is what usually takes the longest. Just like most projects that you will take on in your home, preparing the space is the most important step.
One of the things that we really miscalculated was the time it would take to move all our furniture. Also, we had not planned very well where we were going to store everything while we finished this project.
Make sure you have a plan for this because this step added a while for us. Since we were carpeting the biggest room in our house, we had to be creative where we could fit some of our largest furniture pieces around the house.
Most of the time when installing carpet, you will be removing old carpet first. This will then also include removing the baseboard in the room. The smaller the room, the faster this part of the project goes.
If you plan on re-using the baseboard, you will want to take your time removing it so that it stays in good condition.
You will also be looking at the padding under the old carpet, if you are choosing to use padding. If the old padding is still good and you choose to lay your new carpet directly over it, then the process will go much faster. If you are pulling up and replacing the padding, you are looking at adding several hours to your project especially if you are doing multiple rooms or a large room like we did.
Lastly, you want to consider your subflooring. Again, if you are laying your carpet right over old padding then there is a good chance that you are not making any changes to your subflooring.
If you are replacing your padding under your carpet or are not using padding, it is a good idea to take the chance and inspect your subflooring. If any of it needs to be replaced, now is the best time to do it.
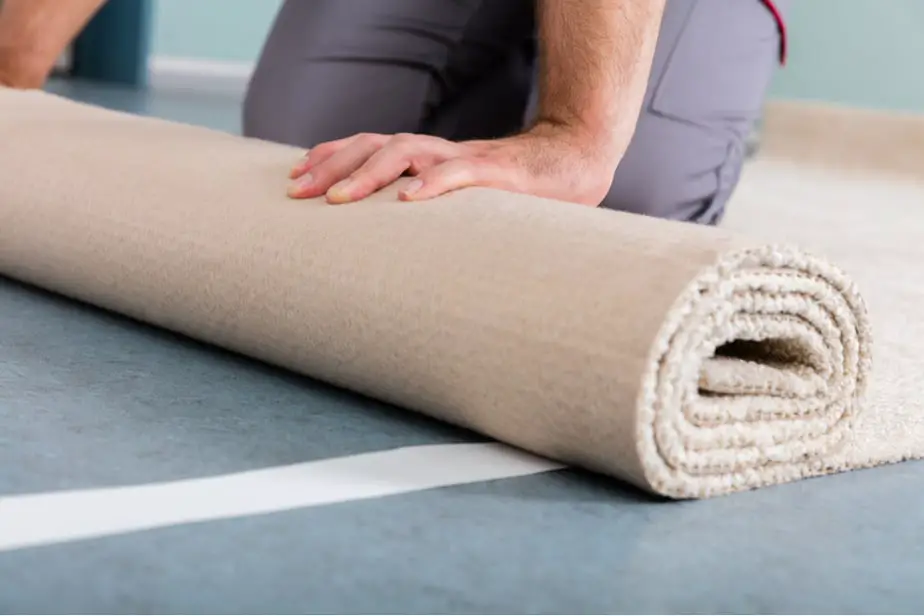
Installing the Carpet
Now that you have your room completely tore apart but fully prepared, you are ready for the fun part. Personally, this is my favorite part because you quickly go from a very messy looking, tore apart room to a nicely put together room with brand new flooring. It makes it all worth the mess and hard work that the preparation takes.
This install step is actually much faster than the previous one. There are several ways to install carpet including using tack strips and stretching it, gluing it directly down onto subflooring, and gluing it to the padding.
Most commonly, you will see homeowners use the tack strips and stretching method, which is the option we chose. This option can be a little bit labor intensive and does require a few extra tools. Again, the smaller the room, the less time this step will take.
While installing the carpet, another part we did not think about was how long the seams took us to join. We used heat activated seam tape and it worked great.
But it did take us a few tries to get the hang of it and be able to confidently finish all the seams. It is important to take your time on this step because you do not to be able to see the seams every time you walk into that room.
Final Steps
After the carpet is installed and looks wonderful, you still have a few finishing touches until the project is officially done.
You will need to carefully nail the baseboard back in its original place. If it is a painted surface, you will need to fill the nail holes and touch up paint over those areas.
Next you will want to move all your furniture back into the room. For some reason, moving the furniture back into the room seemed to go so much faster than trying to move it all out.
After the furniture is all moved back into your room, all that is left is to sit down and enjoy your brand-new carpet!


