When I was home shopping, I had a strange pet peeve: no wood paneled rooms. Personally, I can’t stand the look of the orangey, dark wood. Knotty pine is the worst to me because I associate it with the 70s and feel it looks cheap and outdated. It also makes the room look small and claustrophobic. Okay, now that my rant is over, I ended up buying a house with knotty pine. Gasp! I know, but before the furniture was in place, I had painted it.
So, can you actually paint over knotty pine? Yes, with a few tips, you can paint over knotty pine wood paneling in almost the same time as it would take to paint normal walls. My finished product had the added benefit of a beachy feel, but you can paint the walls any color you like.
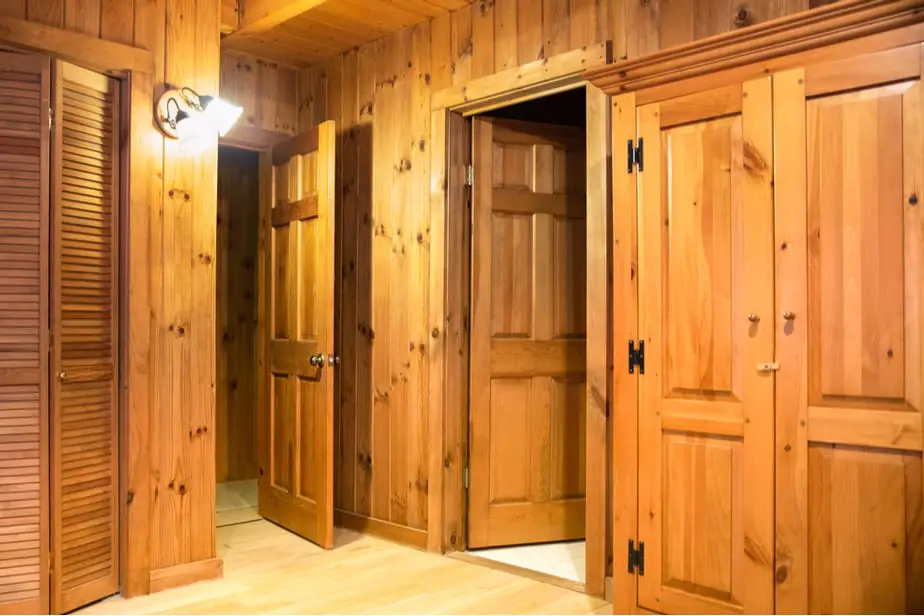
Most people will scoff at the idea of painting over natural wood. It’s beautiful, right? Not knotty pine paneling, in my opinion. There are a few steps that are essential for making the paint stick to the paneling and for making sure it looks professionally done. We’ll look at those steps now.
Contents
Step 1: Clean the Walls
It may seem obvious, but when you’re getting ready to paint a room, you need to clean first. It drove me nuts because my mom always mentioned cleaning before starting a project. I thought it was just her way of getting me to clean because she knew I was excited to paint or decorate, but it really is a good tip.
Most people paint the walls, put up their pictures, and forget them. You vacuum, you clean the windows, you even dust knickknacks. Do you wipe down your walls? Probably not. Most people don’t realize it, but walls absorb things, like smoke and food aromas, over time. They also collect dust, pet fur, hair, and the dreaded cobweb.
Paneling has groves between the slats of wood, where even more gunk can gather. Wipe down your walls with some water. Some companies sell products that are all-purpose cleaners, which can also be used on the walls. But getting off all that dirt will make the final product look even better.
Step 2: Prep Knotty Pine Paneling Walls
Just as painting a regular wall, you’ll want to make the paneling look as fresh as possible. Since this isn’t about fixing knotty pine holes, we’ll cover the very basic method of smoothing out any holes you may have added with pictures or shelving. We’ll leave filling large holes for another day.
Place some painter’s tape around the hole (not over). This will take three to four pieces of tape, depending on size and how well you lay the tape. While you’d use spackle on a drywall, this is a different material so you’ll want to use the appropriate filler, which is wood putty.
Pack the hole with wood putty. Using too little will cause the putty to dry up over time and shrink back. Fill it until the putty swells just a touch from the hole.
Allow the putty to dry for an hour (though longer is always better). Sand down the hole, using heavy grit paper (about 180 will work). Once this is done, wipe down that area of the wall to remove dust and grit, then remove the tape.
Step 3: Sand (Optional)
This step is optional only because there is a way around the polyurethane coating on the wood – priming. I still recommend giving the wall a good sanding to smooth down any imperfections. You never know who hung the paneling in the first place, so if they did the varnishing, there could be dripping. If you are unconcerned with the minor imperfections, skip ahead to step three. Otherwise, use 200-grit sandpaper to scratch the surface of the polyurethane from the wood. This will help the primer to adhere even better.
Step 3: Lay Primer Over the Knotty Pine
This is the most important step when painting knotty pine paneling. Using the wrong primer can lead to disastrous issues, resulting in wasted time and efforts. There are several types of primer out there, and you may be tempted to select the cheapest.
Instead, pay attention to the ingredients. Do you have some old primer in the basement you want to use? Go ahead, prime a very small area, and let it dry. Use your thumbnail and scrape the primer. Did it come off? It did, right?
Latex primer, the most common type, is water-based. It does not work to cover knotty pine. It does not adhere as well as oil-based primers. If you have oil-based primer, you’re heading down the right path. This will stick much better to the wall, but will take at least 24 hours to dry, and it doesn’t guarantee that the tannins from the knots will not come through the finished product.
That leaves shellac primer, which is the winner. Shellac, though it has a very strong odor, will dry extremely quickly and cover up the knots entirely. It will not scratch off from the wood, and it will adhere best.
As an added bonus, it will cover up any of the old smells, like smoke, absorbed by the wood. You can also use any type of paint to cover it. Be sure to use a respirator mask to protect yourself from the harsh gases it gives off.
Step 4: Paint
After allowing the shellac primer to dry 45 minutes (it will be dry to the touch in 20, but wait longer for a second coat), you’re ready to paint. Notice that I didn’t suggest using the primer and paint all-in-one that so many companies sell now?
While it may be convenient, using the primer-plus-paint combo will not adhere to the wall the way you want it to. In fact, you’ll spend more money on the combo, and you’ll find you still need shellac primer. Instead, spend your money wisely on can of primer and a can of normal paint.
The type of paint and color is entirely up to you. The shellac primer will hold up for any paint type, so if you want a glossy finish, go with oil-based. This will work best if your knotty wood paneling is outside or in a moist environment. Latex is cheaper, easier to clean up, dries quickly, and provides more finish options. Eggshell or flat finishes tend to be best for walls and will add softness to your room.
Knotty pine is a little tricky to paint because of the tongue and groove nature. You can use a roller to paint the panels, but you’ll need a smaller, tapered brush to get in between the grooves. This will take time and patience, but it pays off well.
You can also use a paint sprayer, which will give you an even coat and fill in the grooves at the same time. In fact, a paint sprayer guarantees a smoother finish than the streaks of a paint brush (especially when using late paint). Many paint sprayers can be purchased for as little as $50. It will be a great purchase if you enjoy doing home renovation projects, like me!


